
Adding a 5-star rating component to a website or application is a common requirement in many projects. This component allows users to provide feedback and rate items based on their experience. In this step-by-step guide, we will walk through the process of building a 5-star rating component using HTML, CSS, and JavaScript.
Step #1: Set Up the HTML Structure
<!DOCTYPE html>
<html lang="en">
<head>
<meta charset="UTF-8">
<meta name="viewport" content="width=device-width, initial-scale=1.0">
<title>Feedback Form</title>
<link rel="stylesheet" href="style.css">
</head>
<body>
<div class="feedback-form">
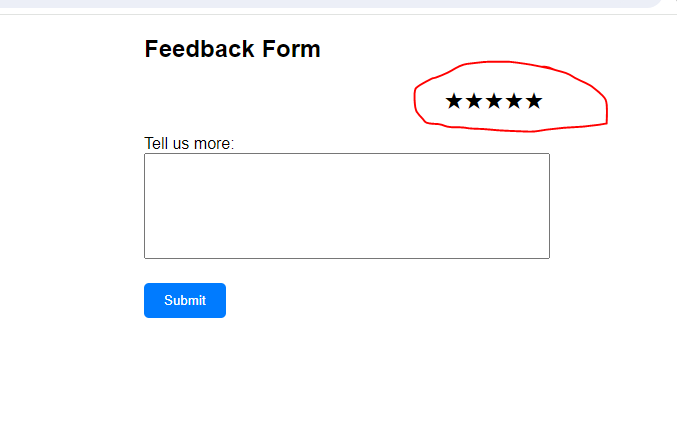
<h2>Feedback Form</h2>
<form id="feedbackForm">
<div class="rating">
<!-- Notice that the stars are in reverse order -->
<input type="radio" id="star5" name="rating" value="5">
<label for="star5">★</label>
<input type="radio" id="star4" name="rating" value="4">
<label for="star4">★</label>
<input type="radio" id="star3" name="rating" value="3">
<label for="star3">★</label>
<input type="radio" id="star2" name="rating" value="2">
<label for="star2">★</label>
<input type="radio" id="star1" name="rating" value="1">
<label for="star1">★</label>
</div>
<div class="comment">
<label for="comment">Tell us more:</label><br>
<textarea id="comment" name="comment"></textarea>
</div>
<button type="submit" class="submit-btn">Submit</button>
</form>
</div>
<script src="script.js"></script>
</body>
</html>Step #2: Style the Rating Component with CSS
body {
	font-family: Arial, sans-serif;
  }

  .feedback-form {
	max-width: 400px;
	margin: 0 auto;
  }

  .rating {
	margin-bottom: 20px;
	display: flex;
	flex-direction: row-reverse; // this is the magic
	justify-content: flex-end;
  }

  .rating input {
	display: none;
  }

  .rating label {
	font-size: 24px;
	cursor: pointer;
  }

  .rating label:hover,
  .rating label:hover ~ label { // reason why the stars are in reverse order in the html
	color: orange;
  }

  .rating input:checked ~ label {
	color: orange;
  }

  .comment {
	margin-bottom: 20px;
  }

  .comment textarea {
	width: 100%;
	height: 100px;
	resize: none;
  }

  .submit-btn {
	background-color: #007bff;
	color: #fff;
	padding: 10px 20px;
	border: none;
	cursor: pointer;
	border-radius: 5px;
  }
Step #3: Add JavaScript Functionality
document.getElementById("feedbackForm").addEventListener("submit", function (event) {
    event.preventDefault();
    var rating = document.querySelector('input[name="rating"]:checked').value;
    var comment = document.getElementById("comment").value;

    // Here you can handle the submission, for now just logging the values
    console.log("Rating: ", rating);
    console.log("Comment: ", comment);

    // You can send this data to the server using AJAX or other methods
    // For simplicity, I'm just logging it here
});
Output:-
Hopefully, It will help you…!!!!