Introduction
In this blog post, we will explore how to add table rows using Laravel, a popular PHP framework. We will provide a live example that demonstrates the functionality in action. So, let’s dive in!
Setting Up the Project
Before we begin, make sure you have Laravel installed on your machine. If not, you can follow the official Laravel documentation to get it set up. Once you have Laravel up and running, you can proceed to the next steps.
Step 1 :- Create a blade page
<div class="card">
      <div class="card-header">
        <form method="POST" action="{{ route('generate.shorten.link.post') }}">
            @csrf
            <div class="input-group mb-3">
              <input type="text" name="link" class="form-control" placeholder="Enter URL" aria-label="Recipient's username" aria-describedby="basic-addon2">
              <div class="input-group-append">
                <button class="btn btn-success" type="submit">Generate Shorten Link</button>
              </div>
            </div>
        </form>
      </div>
      <div class="card-body">

            @if (Session::has('success'))
                <div class="alert alert-success">
                    <p>{{ Session::get('success') }}</p>
                </div>
            @endif

            <table class="table table-bordered table-sm">
                <thead>
                    <tr>
                        <th>ID</th>
                        <th>Short Link</th>
                        <th>Link</th>
                    </tr>
                </thead>
                <tbody>
                    @foreach($shortLinks as $row)
                        <tr>
                            <td>{{ $row->id }}</td>
                            <td><a href="{{ route('shorten.link', $row->code) }}" target="_blank">{{ route('shorten.link', $row->code) }}</a></td>
                            <td>{{ $row->link }}</td>
                        </tr>
                    @endforeach
                </tbody>
            </table>
      </div>
    </div>
Uses of Table in code
<table class="table table-bordered table-sm">
                <thead>
                    <tr>
                        <th>ID</th>
                        <th>Short Link</th>
                        <th>Link</th>
                    </tr>
                </thead>
                <tbody>
                    @foreach($shortLinks as $row)
                        <tr>
                            <td>{{ $row->id }}</td>
                            <td><a href="{{ route('shorten.link', $row->code) }}" target="_blank">{{ route('shorten.link', $row->code) }}</a></td>
                            <td>{{ $row->link }}</td>
                        </tr>
                    @endforeach
                </tbody>
            </table>
Step 2:- Create a Controller
  public function index()
{
    $shortLinks = ShortLink::all();

    return view('shortenLink', compact('shortLinks'));
}

public function store(Request $request)
{
    $request->validate([
        'link' => 'required|url'
    ]);

    $input['link'] = $request->link;
    $input['code'] = Str::random(6);

    ShortLink::create($input);

    return redirect()->route('home')->with('success', 'Shorten Link Generated Successfully!');
}
I hope you will know about model, route and database.
when you Add or store in the database then you will get data through a compact.
In this case data return through below function
 public function index()
{
    $shortLinks = ShortLink::all();

    return view('shortenLink', compact('shortLinks'));
}
Output:-
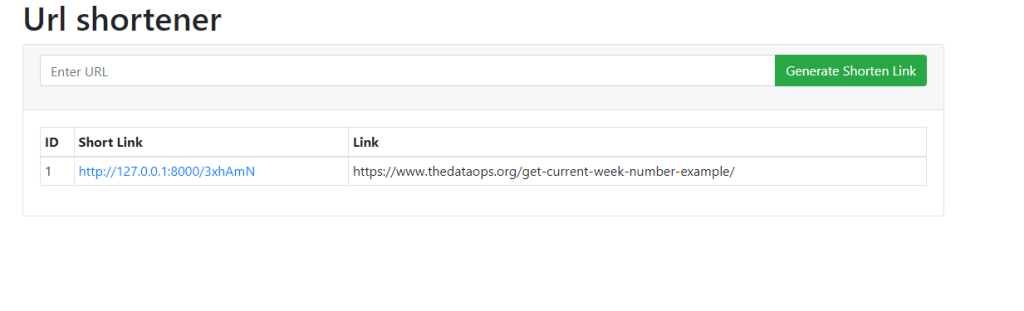
Modify it as per your requirements.Hopefully, It will help you …. Happy Coding !!!!