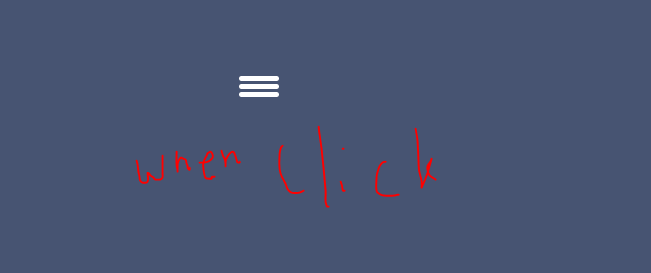
The hamburger menu has become a ubiquitous symbol of mobile navigation, offering a clean and compact way to toggle menu visibility. In this tutorial, we’ll dive into the process of creating a hamburger menu from scratch using HTML, CSS, and JavaScript. By the end of this guide, you’ll have a fully functional and responsive hamburger menu ready to enhance your website’s user experience.

Step #1: Set Up the HTML Structure
<!DOCTYPE html>
<html lang="en">
<head>
    <meta charset="UTF-8">
    <meta name="viewport" content="width=device-width, initial-scale=1.0">
    <link rel="stylesheet" href="style.css">
    <title>Hamburger Menu</title>
</head>
<body>
    <div class="hamburger_menu">
        <div class="hamburger_bar"></div>
    </div>
    <script src="script.js"></script>
</body>
</html>
Step #2: Style the Hamburger Menu with CSS
*,
::before,
::after{
    padding: 0;
    margin: 0;
    box-sizing: border-box;
}

body{
    width:100%;
    height:100vh;
    background:#475472 ;
    position: relative;
}

.hamburger_menu{
    width:40px;
    height:30px;
    position: absolute;
    top:50%;
    left: 50%;
    transform: translate(-50%, -50%);
    cursor: pointer;
}

.hamburger_bar{
    height:5px;
    width:100%;
    background: #fff;
    border-radius: 100vh;
    position: absolute;
    transition: all .3s ease-in-out;
}

.hamburger_bar::before{
    content: "";
    width:100%;
    height:5px;
    background: #fff;
    border-radius: 100vh;
    position: absolute;
    top:-8px;
    transition: all .3s ease-in-out;
}

.hamburger_bar::after{
    content: "";
    width:100%;
    height:5px;
    background: #fff;
    border-radius: 100vh;
    position: absolute;
    bottom: -8px;
    transition: all .3s ease-in-out;
}

/* Animation for the hamburger menu */
.open .hamburger_bar {
    background: transparent;
}

.open .hamburger_bar::before {
    transform: rotate(-45deg);
    top: 0;
}

.open .hamburger_bar::after {
    transform: rotate(45deg);
    bottom: 0;
}
Step #3: Add JavaScript Functionality
const hamburgerMenu = document.querySelector('.hamburger_menu')

hamburgerMenu.addEventListener('click', (e) => {
    e.currentTarget.classList.toggle('open')
    console.log(e.target.classList)
})
Output:-

Hopefully, It will help you…!!!
