Introduction
Hey there! Are you struggling to install phpMyAdmin in Ubuntu? Don’t worry, I’ve got you covered! In this blog post, we’ll walk through the step-by-step process of installing phpMyAdmin on your Ubuntu machine. I’ll also provide a live example to make things even clearer. Let’s get started!
Step 1: Update and Upgrade
The first thing we need to do is update and upgrade our Ubuntu system. Open up your terminal and run the following commands:
$ sudo apt update
$ sudo apt upgrade
Step 2: Install Apache
Next, we’ll need to install Apache, a popular web server software. Run the following command:
$ sudo apt install apache2
Step 3: Install MySQL
After installing Apache, we’ll need to install MySQL, a powerful relational database management system. Run the following command:
$ sudo apt install mysql-server
During the installation process, you’ll be prompted to set a password for the MySQL root user. Make sure to choose a strong password and remember it!
Step 4: Install phpMyAdmin
Now that we have Apache and MySQL installed, we can proceed to install phpMyAdmin. Run the following command:
$ sudo apt install phpmyadmin
During the installation process, you’ll be asked to choose a web server to configure for phpMyAdmin. Select apache2 and hit Enter.
You’ll also be prompted to configure the database for phpMyAdmin with dbconfig-common. Choose Yes and enter the MySQL root password that you set earlier.
Step 5: Configure Apache
To configure Apache to work with phpMyAdmin, we need to edit the apache2.conf file. Run the following command:
$ sudo nano /etc/apache2/apache2.conf
Scroll down to the bottom of the file and add the following line:
Include /etc/phpmyadmin/apache.conf
Save the file and exit the editor.
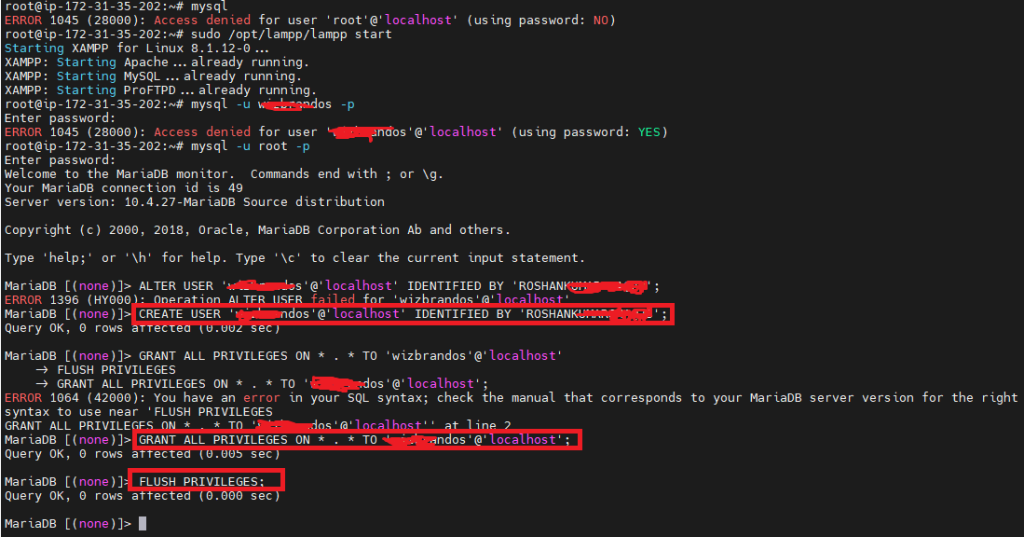
Create a User on MySQL
Now, we will create a user for MySQL using the following command.
Step 6: Restart Apache
To apply the changes, we need to restart the Apache web server. Run the following command:
$ sudo service apache2 restart
Step 7: Access phpMyAdmin
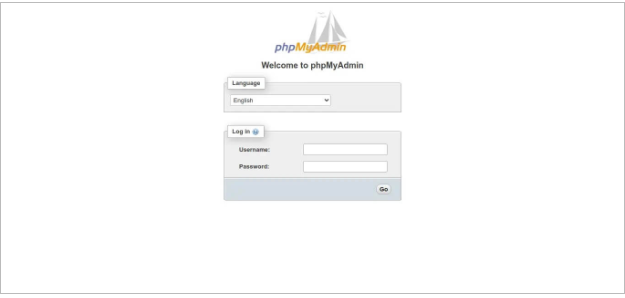
http://localhost/phpmyadmin

http://your_domain_or_IP/phpmyadmin
Output:-