Introduction
In this blog post, we will explore how to change the date format in Bootstrap Datepicker. We will provide step-by-step instructions along with examples to help you understand the process. So, let’s dive in and learn how to customize the date format in Bootstrap Datepicker!

Step: Include Bootstrap Datepicker
The first step is to include the Bootstrap Datepicker library in your project. You can download the library from the official website or use a CDN (Content Delivery Network) link. Make sure to include the necessary CSS and JavaScript files in your HTML document.
<html lang="en">
<head>
    <title>Bootstrap Datepicker - Wizbrand</title>
    <link href="https://maxcdn.bootstrapcdn.com/bootstrap/3.3.6/css/bootstrap.min.css" rel="stylesheet">
    <link href="https://cdnjs.cloudflare.com/ajax/libs/bootstrap-datepicker/1.5.0/css/bootstrap-datepicker.css" rel="stylesheet">
    <script src="http://ajax.googleapis.com/ajax/libs/jquery/1.9.1/jquery.js"></script>
    <script src="https://maxcdn.bootstrapcdn.com/bootstrap/3.3.6/js/bootstrap.min.js"></script>
        <script src="https://cdnjs.cloudflare.com/ajax/libs/bootstrap-datepicker/1.5.0/js/bootstrap-datepicker.js"></script>
</head>
<body>


<input class="date form-control" style="width: 300px;" type="text">


<script type="text/javascript">
    $('.date').datepicker({
       format: 'yyyy-mm-dd'
     });
</script>


</body>
</html>
Output:-
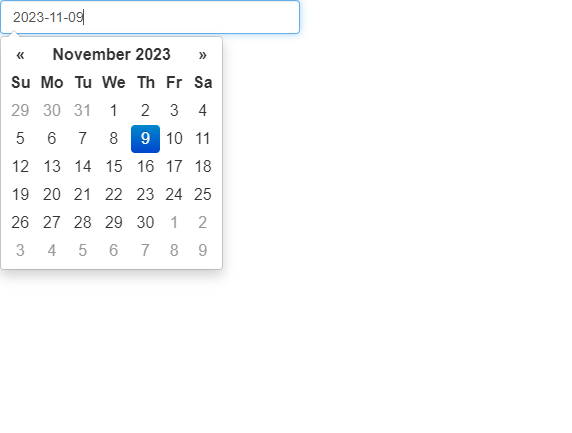
In the above example, the date will be displayed in the format “yyyy-mm-dd”. You can customize it according to your preference.