Introduction
Have you ever made a mistake and committed something to your local Git repository that you didn’t want to keep? Don’t worry, it happens to the best of us! In this blog article, we will explore how to remove the last commit from your local Git repository, step by step.
Why would you want to remove the last commit?
There could be several reasons why you might want to remove the last commit from your local repository. Perhaps you accidentally committed a file with sensitive information, or maybe you realized that the changes you made in the last commit were incorrect or unnecessary. Whatever the reason may be, Git provides us with the tools to easily undo our mistakes and keep our repository clean and error-free.
Step 1: Check the commit history
Before we dive into the process of removing the last commit, let’s first take a look at the commit history of our repository. This will help us understand which commit we want to remove and how it affects the overall state of our repository.
To check the commit history, open your terminal and navigate to the directory of your Git repository. Once you’re in the correct directory, use the following command:
git log
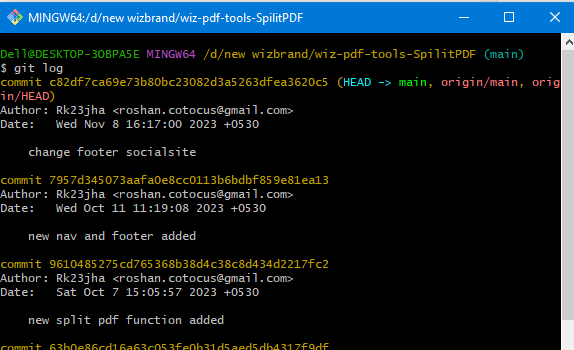
This command will display a list of all the commits in your repository, starting from the most recent one. Take note of the commit hash or any other identifying information of the commit you want to remove.
Step 2: Remove the last commit
Now that we know which commit we want to remove, let’s proceed with the removal process. To remove the last commit from your local repository, use the following command:
git reset HEAD~1
git reset --soft HEAD~
This command will remove the last commit from your local repository, but it will keep the changes made in that commit as uncommitted changes. This means that you can still access and modify the files affected by the removed commit before making a new commit.
Step 3: Make necessary changes
After removing the last commit, you might want to make some changes to the files affected by that commit. This could involve reverting certain changes, adding new changes, or even discarding the changes altogether. Take your time to review the changes and make any necessary adjustments.
Step 4: Make a new commit
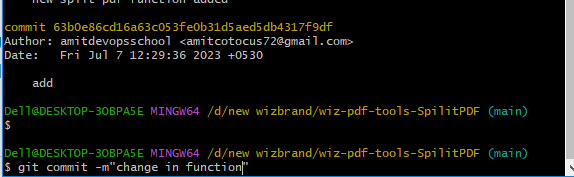
Once you’re satisfied with the changes you’ve made, it’s time to make a new commit. Use the following command to commit the changes:
git commit -m "Your commit message"
Replace “Your commit message” with a descriptive message that summarizes the changes made in this new commit. This will help you and other contributors understand the purpose and content of the commit.
Hopefully, It will help you …!!!!