XAMPP is a popular development environment that includes Apache, MySQL, PHP, and Perl. It allows developers to create and test web applications locally before deploying them to a production server. One of the key features of XAMPP is the ability to set up virtual hosts, which allows you to run multiple websites on the same local server. In this blog post, we’ll discuss how to configure virtual hosts in XAMPP on Windows.

Setting Up Virtual Hosts in XAMPP:
- Locate the httpd-vhosts.conf File: Open your XAMPP installation directory and navigate to the
apache\conf\extrafolder. Inside this folder, you’ll find thehttpd-vhosts.conffile. This file is used to define virtual hosts for your Apache server. - Edit the httpd-vhosts.conf File: Open the
httpd-vhosts.conffile in a text editor such as Notepad. By default, this file may be empty or contain some example configurations. You’ll need to add your virtual host configurations to this file. - Define Virtual Hosts: To define a virtual host, use the
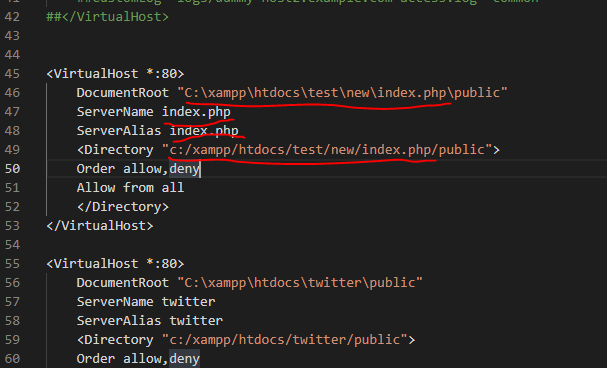
<VirtualHost>directive followed by the IP address and port number of your local server. Here’s an example of a basic virtual host configuration:
<VirtualHost *:80>
    ServerAdmin webmaster@example.com
    DocumentRoot "C:/xampp/htdocs/example"
    ServerName example.local
    ErrorLog "logs/example-error.log"
    CustomLog "logs/example-access.log" common
    <Directory "C:/xampp/htdocs/example">
        Options Indexes FollowSymLinks
        AllowOverride All
        Require all granted
    </Directory>
</VirtualHost>
Turn off the XAMPP server (apache, mySQL)

C:\xampp\apache\conf\extra\httpd-vhosts.conf
Hopefully, It will help you ..!!!