Introduction
In this blog article, we will explore the JQuery Radio Button Change Event and understand how it can be used in web development. We will cover the basics of JQuery and demonstrate a practical example of implementing the radio button change event. So, sit back, relax, and let’s dive into the world of web development!
Understanding the Radio Button Change Event
The radio button change event is a JQuery event that triggers when the state of a radio button changes. This event is particularly useful when you want to perform certain actions based on the selected radio button. For example, you might want to show or hide certain elements on a webpage depending on the user’s radio button selection.
Step 1: HTML Markup
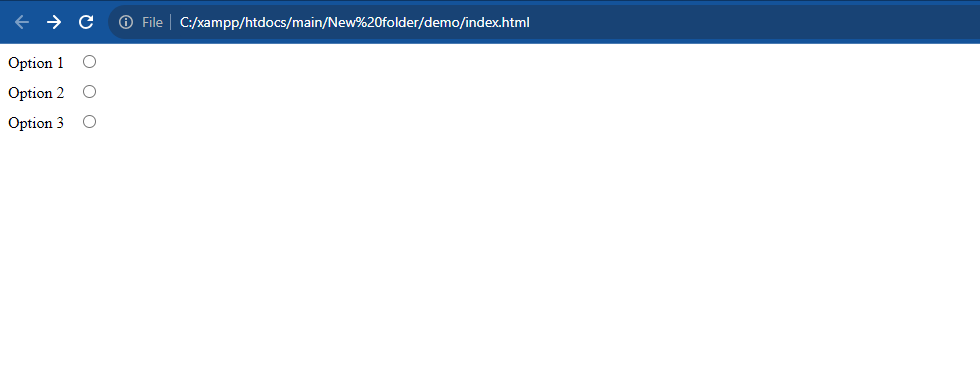
First, let’s create the HTML markup for the radio buttons and the message display area. Here’s the code:
<div>
  <label for="option1">Option 1</label>
  <input type="radio" name="option" id="option1">
</div>
<div>
  <label for="option2">Option 2</label>
  <input type="radio" name="option" id="option2">
</div>
<div>
  <label for="option3">Option 3</label>
  <input type="radio" name="option" id="option3">
</div>

<div id="message"></div>
Step 2: JQuery Code
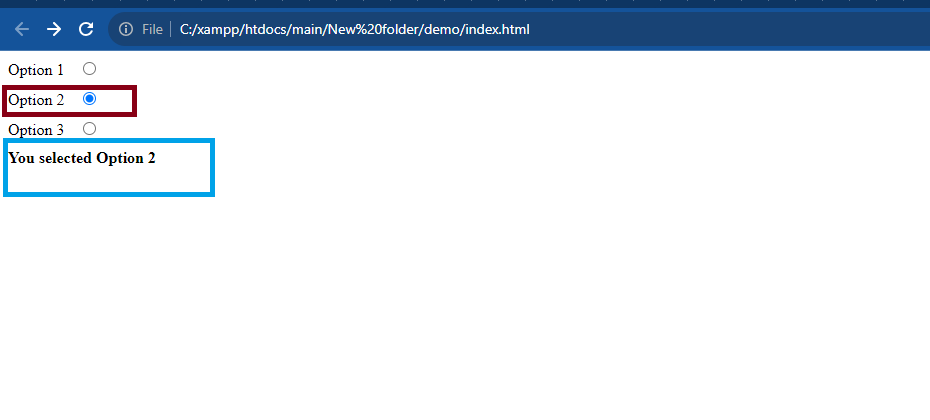
Next, let’s write the JQuery code that handles the radio button change event and displays the corresponding message. Here’s the code:
$(document).ready(function() {
  $('input[name="option"]').change(function() {
    var selectedOption = $('input[name="option"]:checked').attr('id');

    switch(selectedOption) {
      case 'option1':
        $('#message').text('You selected Option 1');
        break;
      case 'option2':
        $('#message').text('You selected Option 2');
        break;
      case 'option3':
        $('#message').text('You selected Option 3');
        break;
      default:
        $('#message').text('');
        break;
    }
  });
});
Step 3: CSS Styling
Finally, let’s add some CSS styling to make the radio buttons and message display area visually appealing. Here’s the code:
div {
  margin-bottom: 10px;
}

label {
  margin-right: 10px;
}

#message {
  font-weight: bold;
  margin-top: 10px;
}
Output:-
Hopefully, It will help you …!!!
